
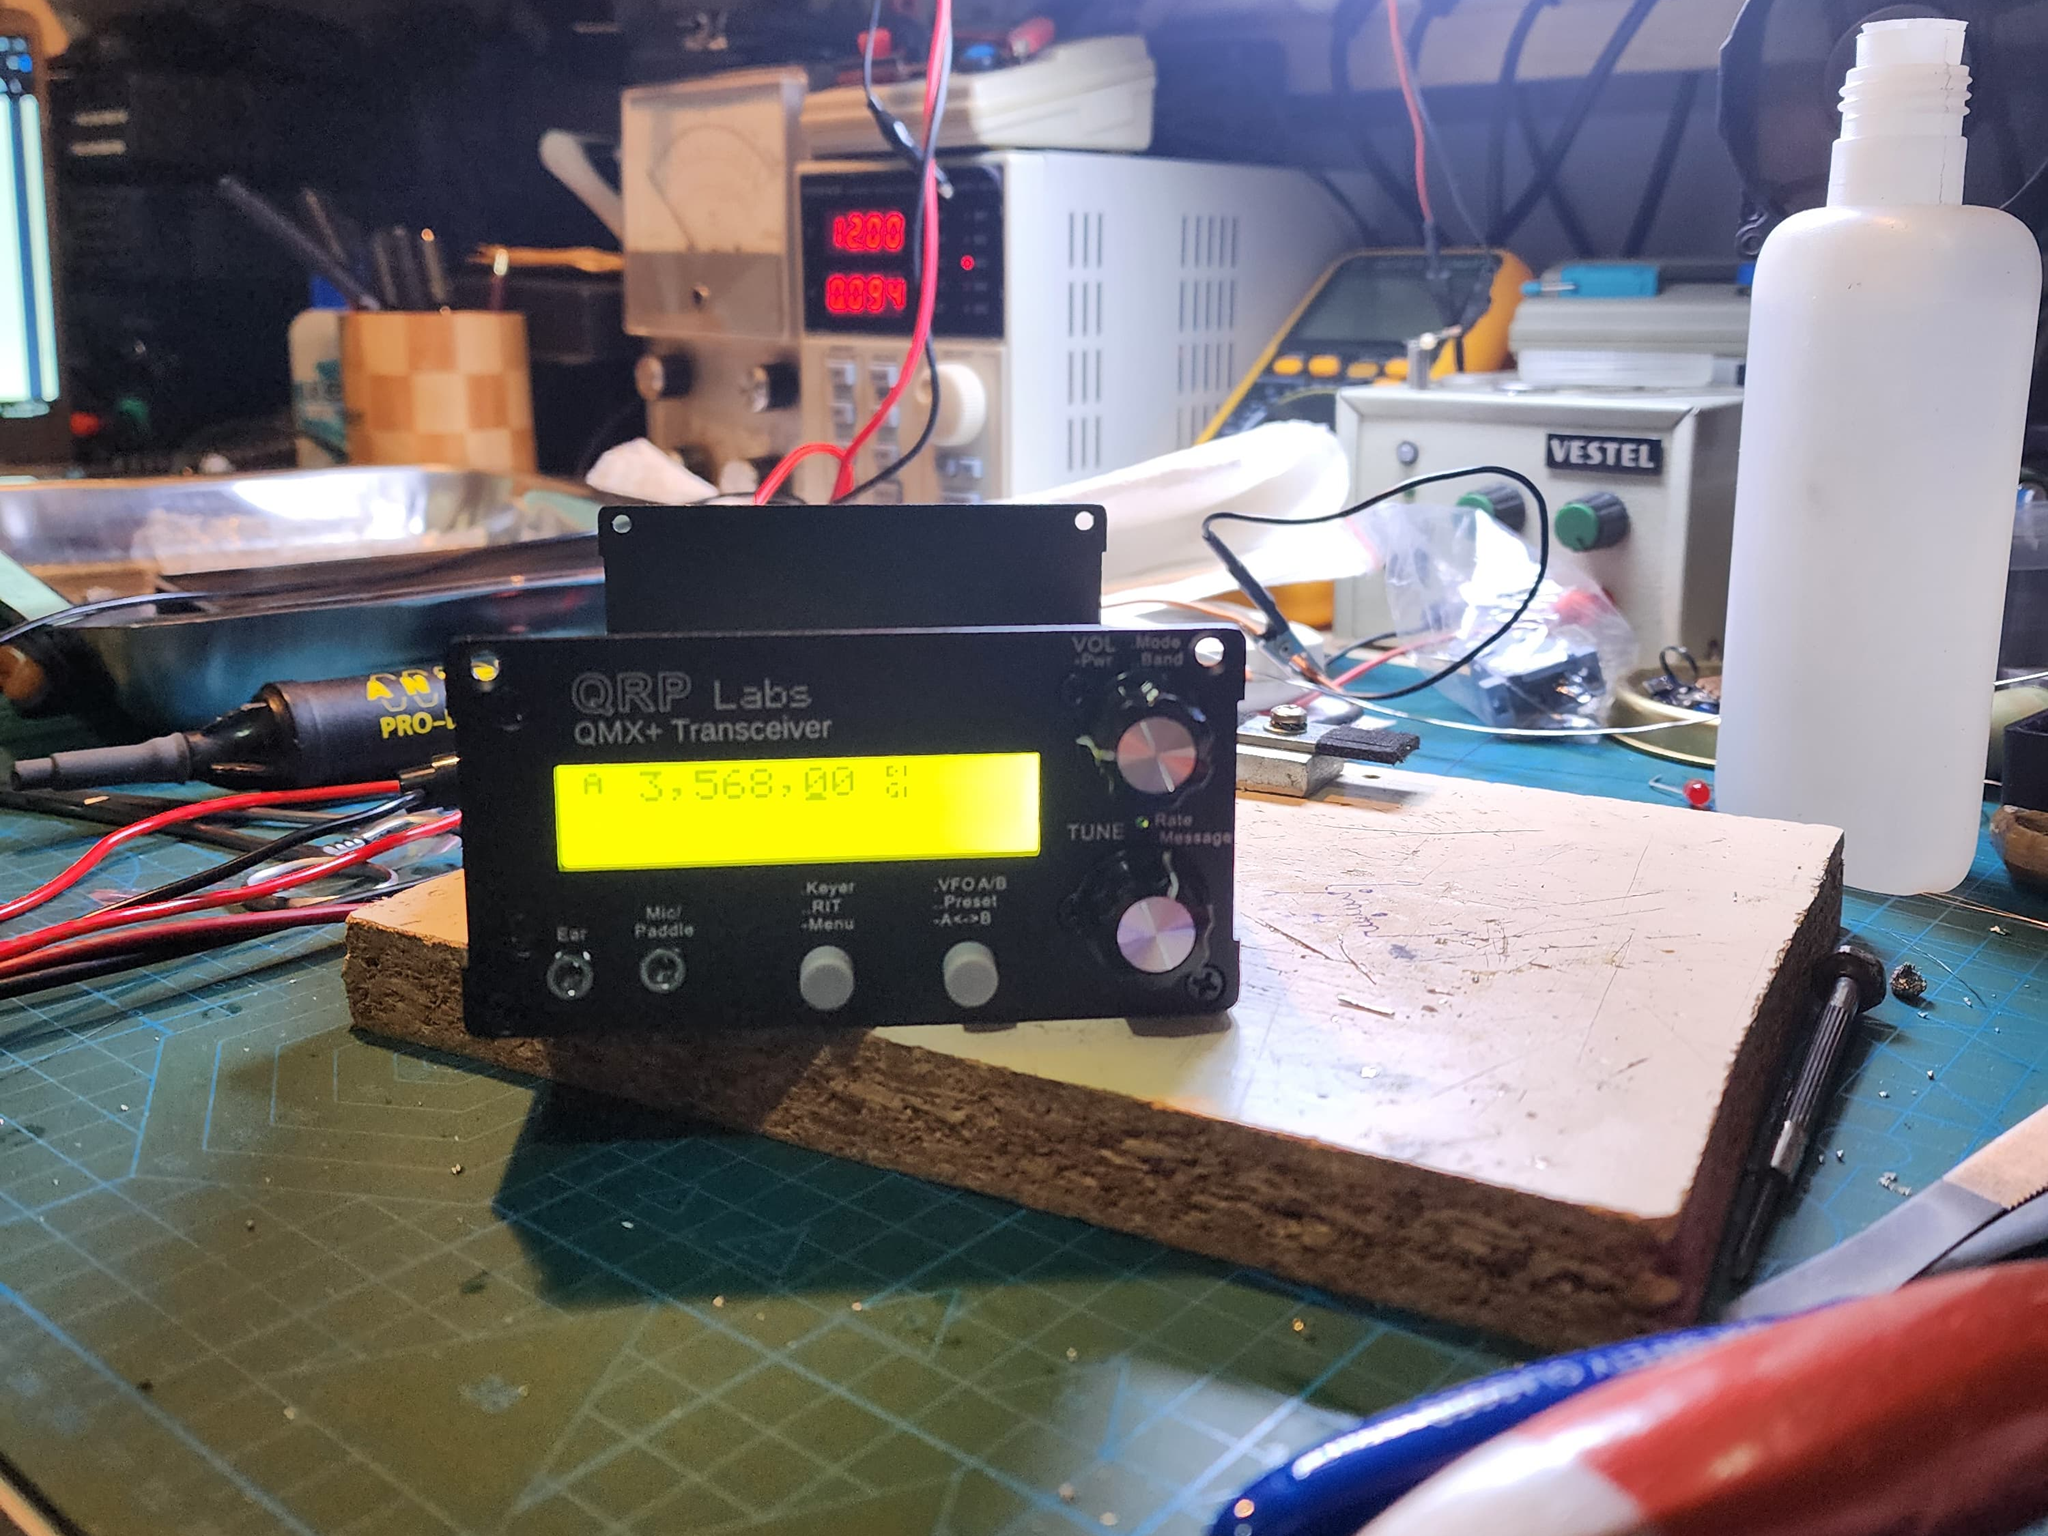
My QMX+ Setup Experience: A Radio Adventure
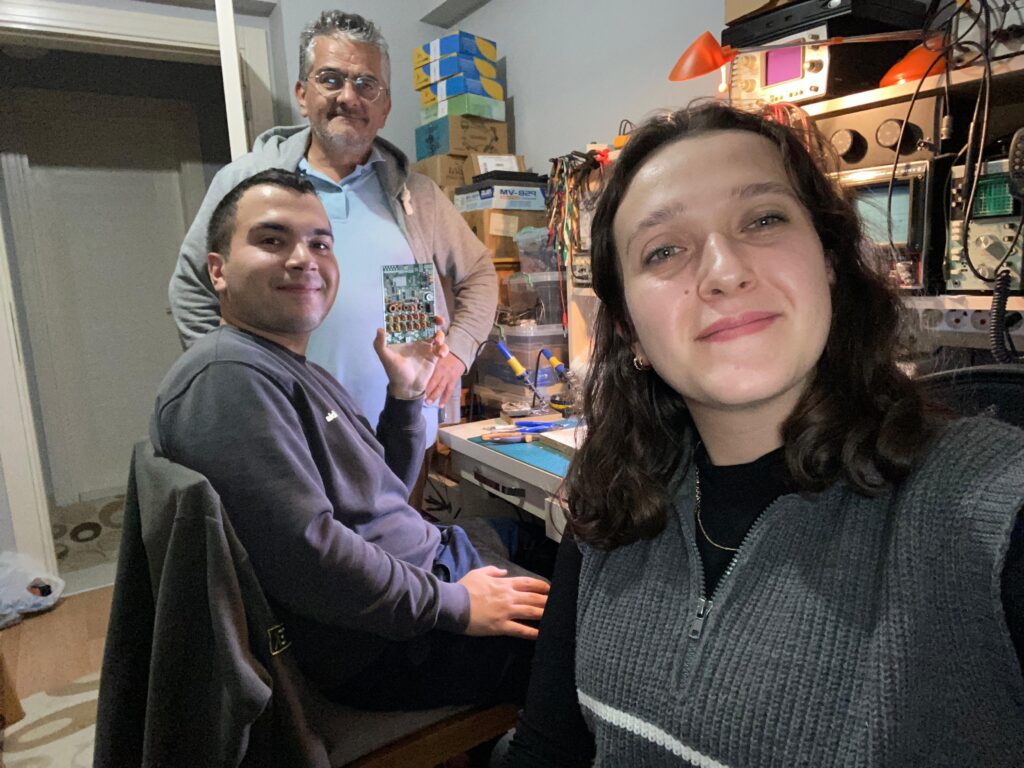
Building your own device from scratch in the amateur radio world is a process that requires both technical knowledge and patience. Recently, I embarked on such an adventure with the QMX+ transceiver, which I purchased as a kit. Although my electronics knowledge is limited, the setup process taught me a lot. Throughout this journey, my greatest supporters were my friend TA7EK Emre and my mentor TA7OZX Özkan, who patiently guided me through each step.
What is QMX+?
QMX+ is a modern QRP transceiver. It can operate in the HF bands (3.5 MHz – 29.7 MHz) with a low output power of up to 5 watts. The device uses SDR (Software Defined Radio) technology for frequency generation and signal processing. One of its biggest advantages is the integrated Arduino-based processor, which allows users to customize the software. Its compact design makes it portable, which is ideal for field operations.
The Setup Process
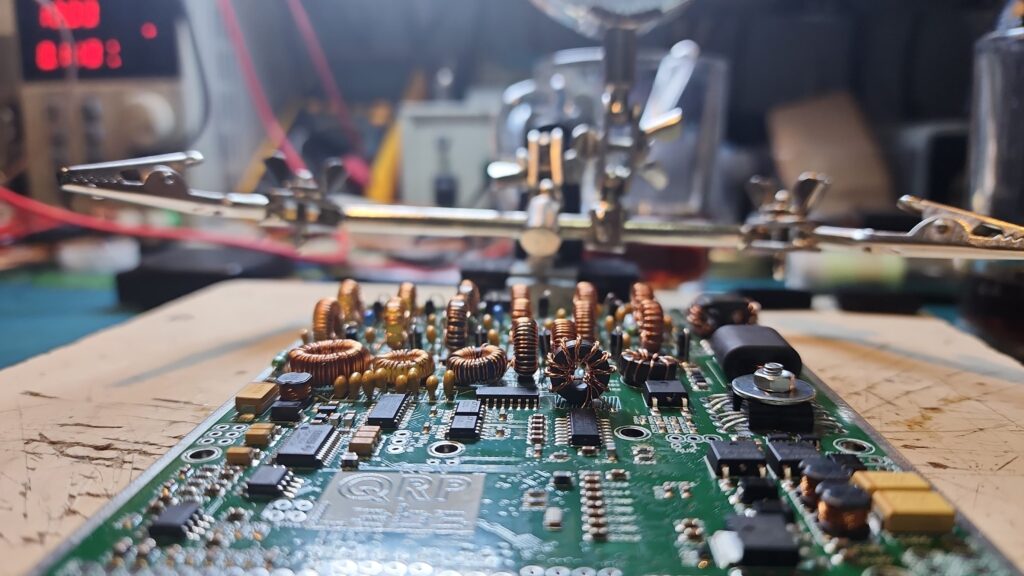
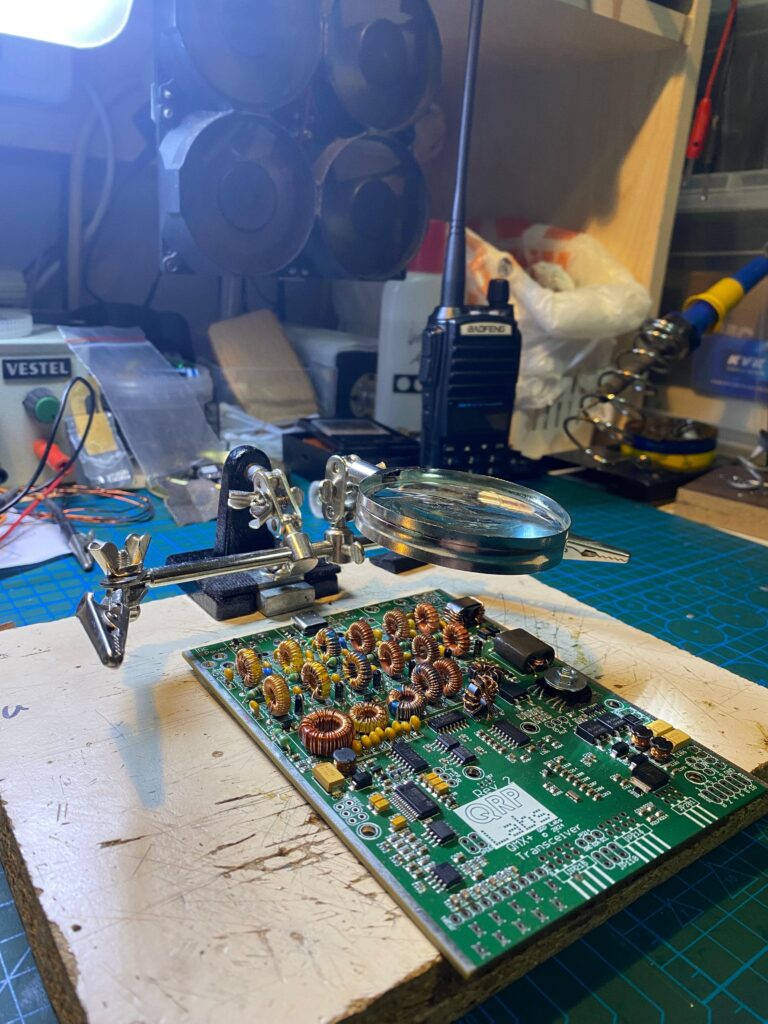
When the device arrived, all the components were carefully packaged. My first task was to check all the parts carefully. The arrangement of components on the circuit board was both clear and educational, which made the process easier to understand. The soldering work was a bit challenging but also the most fun part of the project. As I placed each component, I tried to understand the function of the circuit:
- Microcontroller and Oscillator: The Arduino-based processor is the “brain” of the device. This module controls everything, from frequency management to DSP (Digital Signal Processing) algorithms.
- PA (Power Amplifier) Section: This part provides the output power and requires particular attention. Correctly soldering the transistors in this section is critical for the device’s performance.
- Filter Circuits: The filters for each band ensure that signals are received and transmitted cleanly.
With Özkan’s guidance, I was able to make the right moves when I encountered difficulties during the process.
First Test and Results
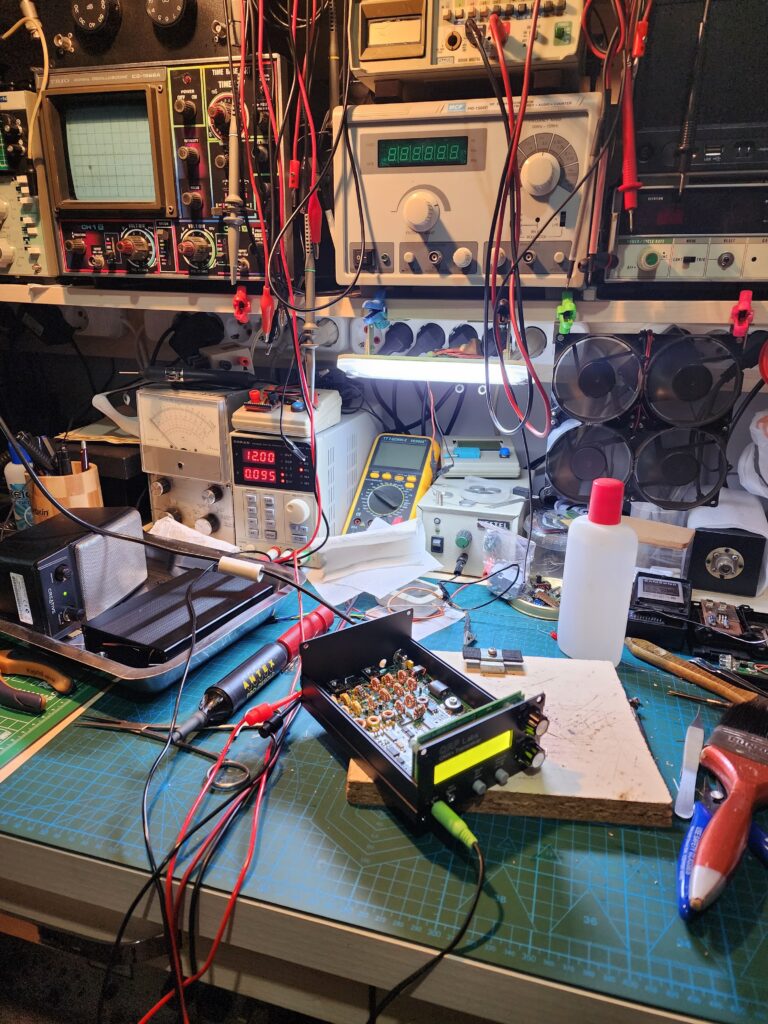
After completing the setup, the moment I powered up the device for the first time was indescribable. The QMX+ worked right away and began scanning frequencies without any issues. Making my first CQ call while using a device I had built with my own hands gave me a great sense of pride.
What I Learned
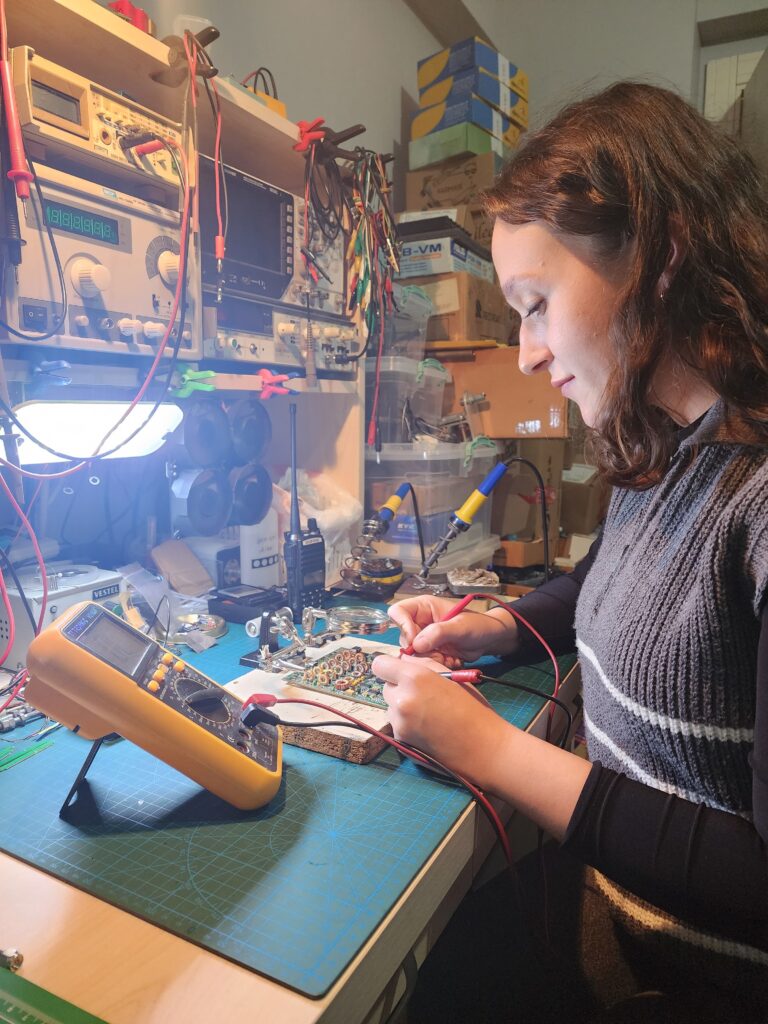
Even though my electronics knowledge was at a beginner level, this experience taught me more than just technical details. It showed me how important patience, teamwork, and being open to learning are on the path to success. I also realized that the amateur radio hobby is not just about communication, but also a way to enhance our technical knowledge through projects like these.
If you’re interested in electronics and want to experience building your own device, QMX+ could be a great place to start. Don’t worry—there’s no age limit to learning!
73&88 de TA7YLY Merzuke
Bir yanıt yazın